Với xu hướng người dùng Việt đa số là sử dụng các phần mềm bẻ khóa hay crack bản quyền, nên chương trình Window Defender gây ra khá nhiều phiền toái trong quá trình sử dụng. Vì vậy, biết cách làm thế nào để tắt bật chương trình một cách linh hoạt là điều rất cần thiết.

HƯỚNG DẪN CÁCH TẮT WINDOWS DEFENDER TRÊN WINDOWS 10
Nếu bạn đang sử dụng Windows 8 có thể tham khảo bài viết cách tắt Window defender trên Windows 8 nhé, còn bây giờ chung tôi sẽ hướng dẫn bạn cách tắt Windows Defender trên Windows 10.
Cách 1: Vô Hiệu Hóa Tạm Thời Windows Defender Bằng Ứng Dụng Settings
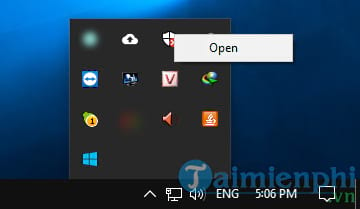
Bước 1: Trên khay hệ thống, các bạn nhấp đúp vào biểu tượng Windows Defender hoặc chuột phải chọn Open
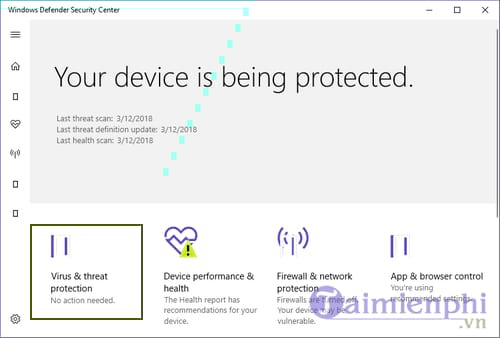
Bước 2: Giao diện Windows Defender Security Center mở ra, các bạn nhấn vào mục Virus & threat protection
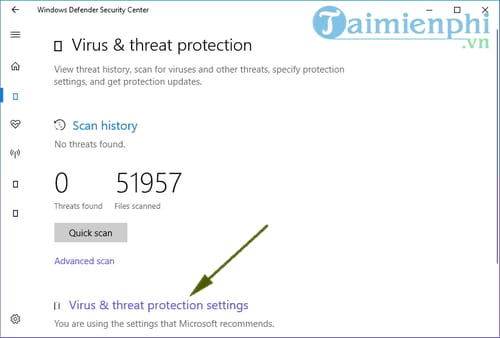
Bước 3: Tiếp theo, nhấn vào tùy chọn Virus & threat protection settings
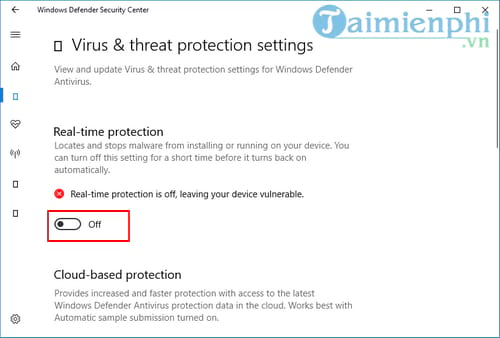
Bước 4: Chuyển trạng thái tùy chọn Real-time protection sang OFF như hình dưới đây
Cách 2: Tắt Windows Defender Bằng Registry
Nếu sử dụng Windows 10 Home, bạn không thể truy cập Local Group Policy Editor. Tuy nhiên bạn vẫn có thể vô hiệu hóa Windows Defender bằng cách sử dụng Registry.
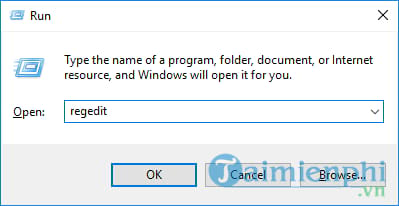
Bước 1: Nhấn tổ hợp phím Windows + R và nhập lệnh Regedit vào hộp thoại Run rồi nhấn Enter hoặc OK
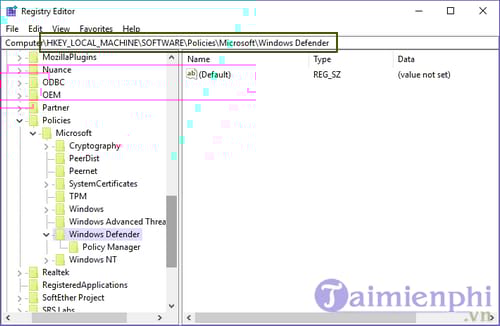
Bước 2: Cửa sổ Registry mở ra, các bạn điều hướng key theo đường dẫn: HKEY_LOCAL_MACHINE\SOFTWARE\Policies\Microsoft\Windows Defender
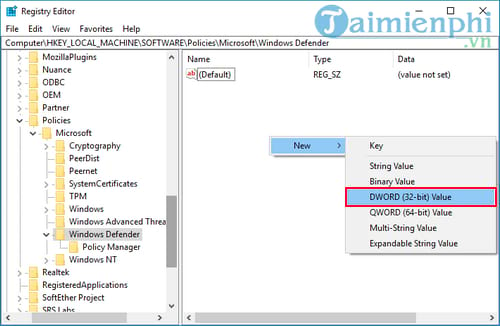
Bước 3: Tại đây, các bạn nhấn chuột phải vào khoảng trống và chọn New >DWORD (32-bit) Value.
Bước 4: Đặt tên cho key mới này là DisableAntiSpyware.

Bước 5: Nhấp đúp chuột vào key mới mà bạn vừa tạo, thiết lập giá trị trong khung Value Data từ 0 thành 1.

Bước 6: Khởi động lại máy tính của bạn để hoàn tất quá trình.
Trường hợp nếu muốn kích hoạt lại Windows Defender, bạn thực hiện lại các bước trên và thay đổi lại giá trị trong khung Value Data từ 1 thành 0, khởi động lại máy tính của bạn để áp dụng thay đổi.
Cách 3: Tắt Windows Defender Bằng Local Group Policy
Nếu sử dụng Windows 10 Pro hoặc các phiên bản khác như Windows 10 Enterprise hoặc Windows 10 Education, bạn có thể sử dụng Local Group Policy Editor để vô hiệu hóa hoàn toàn Windows Defender trên máy tính của mình.
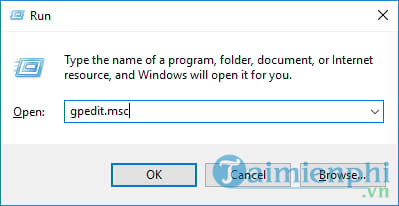
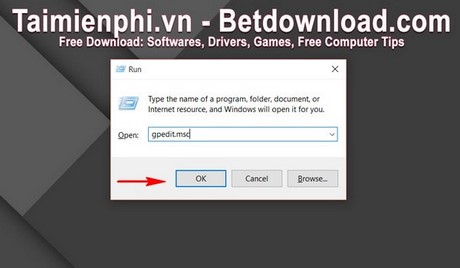
Bước 1: Nhấn tổ hợp phím Windows + R và nhập lênh gpedit.msc vào hộp thoại Run rồi nhấn Enter hoặc OK
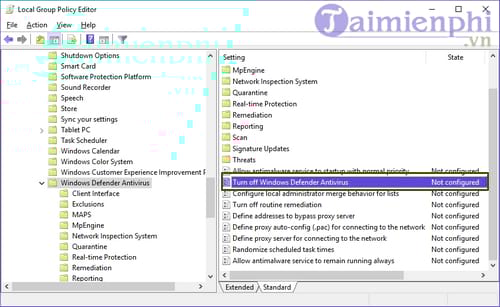
Bước 2: Cửa sổ Group Policy mở ra, các bạn điều hướng key theo đường dẫn: Local Computer Policy\Computer Configuration\Administrative Templates\Windows Components\Windows Defender Antivirus

Bước 3: Sau khi truy cập đến đường dẫn trên, nhấp đúp chuột vào Turn off Windows Defender Antivirus ở khung bên phải
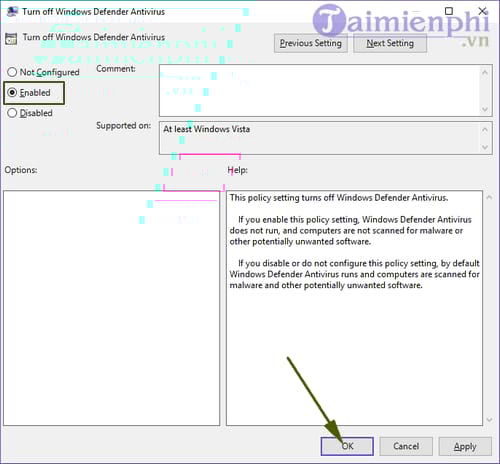
Bước 4: Chọn Enable và nhấn OK để lưu lại
Bước 5: Tại Real-time Protection, các bạn nhấn đúp chuột vào Monitor file and program activity on your computer. Chọn Disable và nhấn OK để lưu lại

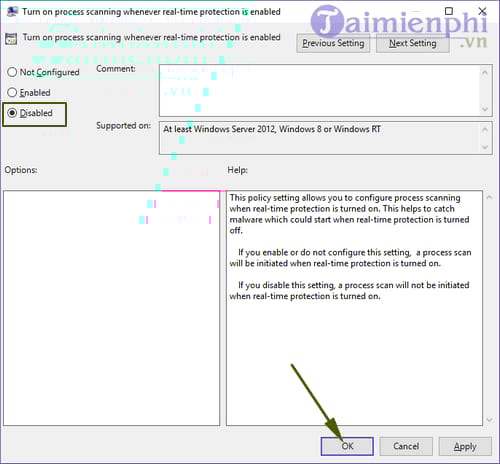
Bước 6: Cũng tại Real-time Protection, các bạn nhấp đúp chuột vào Turn on process scanning whenever real-time protection is enabled. Chọn Disable và nhấn OK.
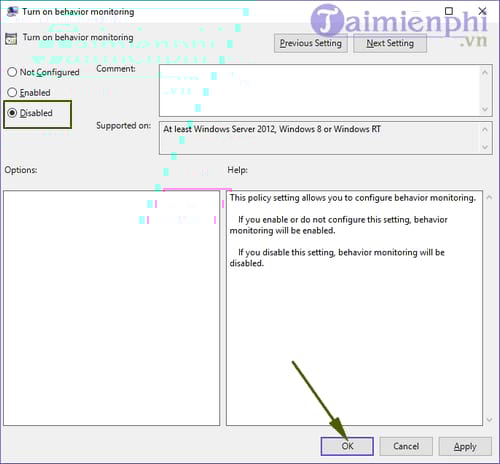
Bước 7: Tiếp tục nhấp đúp chuột vào Turn on behavior monitoring, chọn Disable và nhấn OK
Bước 8: Khởi động lại máy tính để ap dụng giá trị. Trường hợp bạn muốn bật lại Windows Defender thì chỉ việc làm ngược lại với các lựa chọn ở mỗi bước trên.
Trên Phiên Bản Windows Cũ
Bước 1: Nhấn tổ hợp phím Windows + R để khởi động hộp thoại Run và nhập gpedit.msc rồi nhấn Enter hoặc OK.
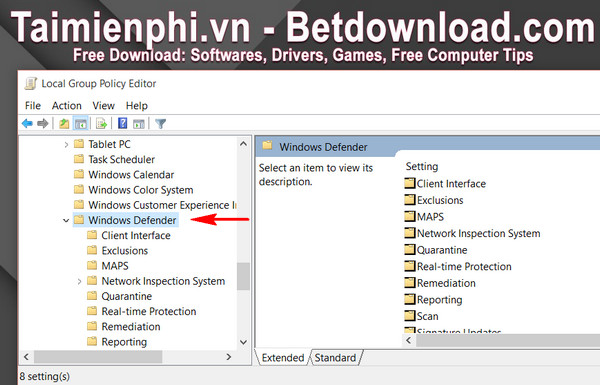
Bước 2: Trong Local Group Policy Editor, bạn truy cập theo đường dẫn Administrative Templates > Windows Components > Windows Defender.
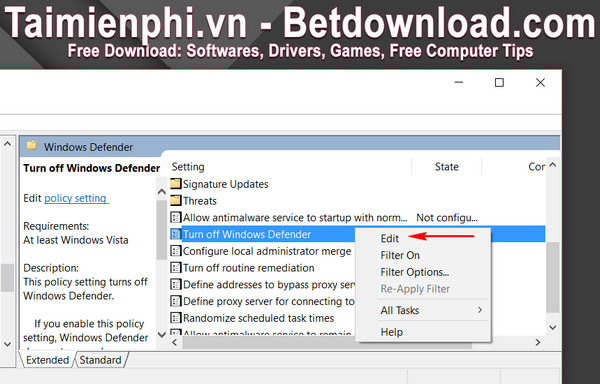
Bước 3: Trong thư mục Windows Defender, các bạn tìm tới mục Turn off Window Defender nhấp đúp vào nó hoặc nhấn chuột phải chọn Edit.
Bước 4: Click tiếp Enabled sau đó Apply và OK.
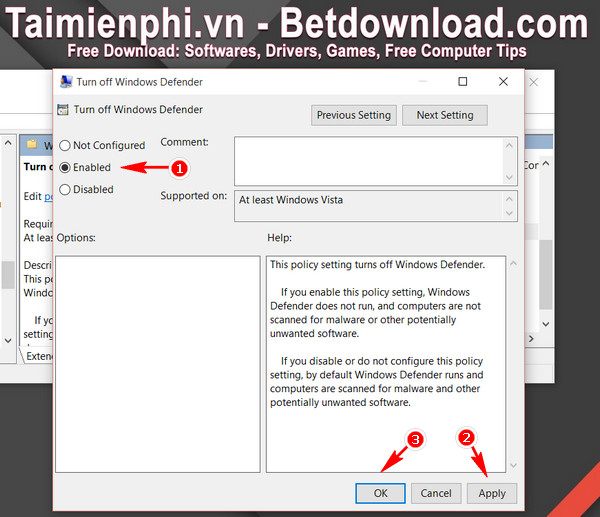
Bước 5: Khởi động lại máy và tận hưởng thành quả.
Như vậy với việc tắt Windows Defender, các bạn có thể yên tâm cài phần mềm diệt virus khác vào máy bạn cũng như tăng tốc được một chút khi tắt ứng dụng tự động này.
Nguồn: taimienphi.vn
Xem thêm: http://duylinhlaptop.vn/ho-tro-ky-thuat/cach-bat-tat-window-defender-tren-win-8-8-1.html
